Blog | Dennis Moffitt Painting
Your Experience Matters
(401) 789-2181
Request an Estimate
Residential
Exterior Painting
Interior Painting
House Washing
Gutter Repair and Installation
Carpentry
Interior Carpentry
Exterior Carpentry
Commercial
Commercial Painting
New Construction Painting
Media Blasting & Sandblasting
VIP Realtor Club
Cabinets
About
Our Story
Core Values
Testimonials
Careers
In the Community
Contact
Blog
Home
>
Blog
Dec 2, 2025
How Paint Colors Affect Your Mood: A Guide for Rhode Island Homeowners
Nov 25, 2025
Why Winter Is a Great Time for Interior Painting in Rhode Island
Nov 11, 2025
How Often Should You Repaint Your Home’s Interior? A Room-by-Room Guide for Rhode Island Homes
Nov 5, 2025
The Complete Guide to Commercial Painting in Rhode Island: What Facility Managers Need to Know
Oct 21, 2025
How to Prepare Your Home for Interior Painting: A Rhode Island Homeowner’s Complete Checklist
Oct 15, 2025
Flat, Eggshell, Satin, or Semi-Gloss? Choosing the Right Finish for Every Room
Sep 12, 2025
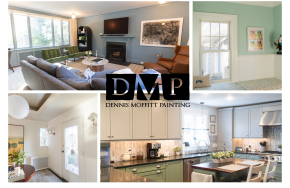
Give Your Cabinets a Makeover — Without the Remodel Price Tag
Aug 26, 2025
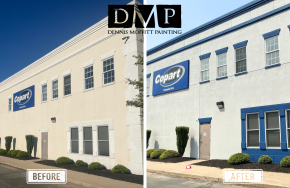
3 Signs Your Business Exterior Is Costing You Customers
Aug 13, 2025
DIY vs. Professional Painting: Why Hiring DMP Saves You Time, Money, and Stress
Jul 25, 2025
Outdoor Painting Projects That Boost Summer Living
Jul 18, 2025
Give the Gift of Paint with DMP’s Christmas in July Offer
Jun 30, 2025
Summer Exterior Painting Projects in RI: What Should I Tackle First?
1
2
3
4
5
6
Next Page
Book Your Estimate
Choose a date & time instantly
Schedule Online
OR
Request Your Estimate
Submit details and we’ll reach out